
Blog
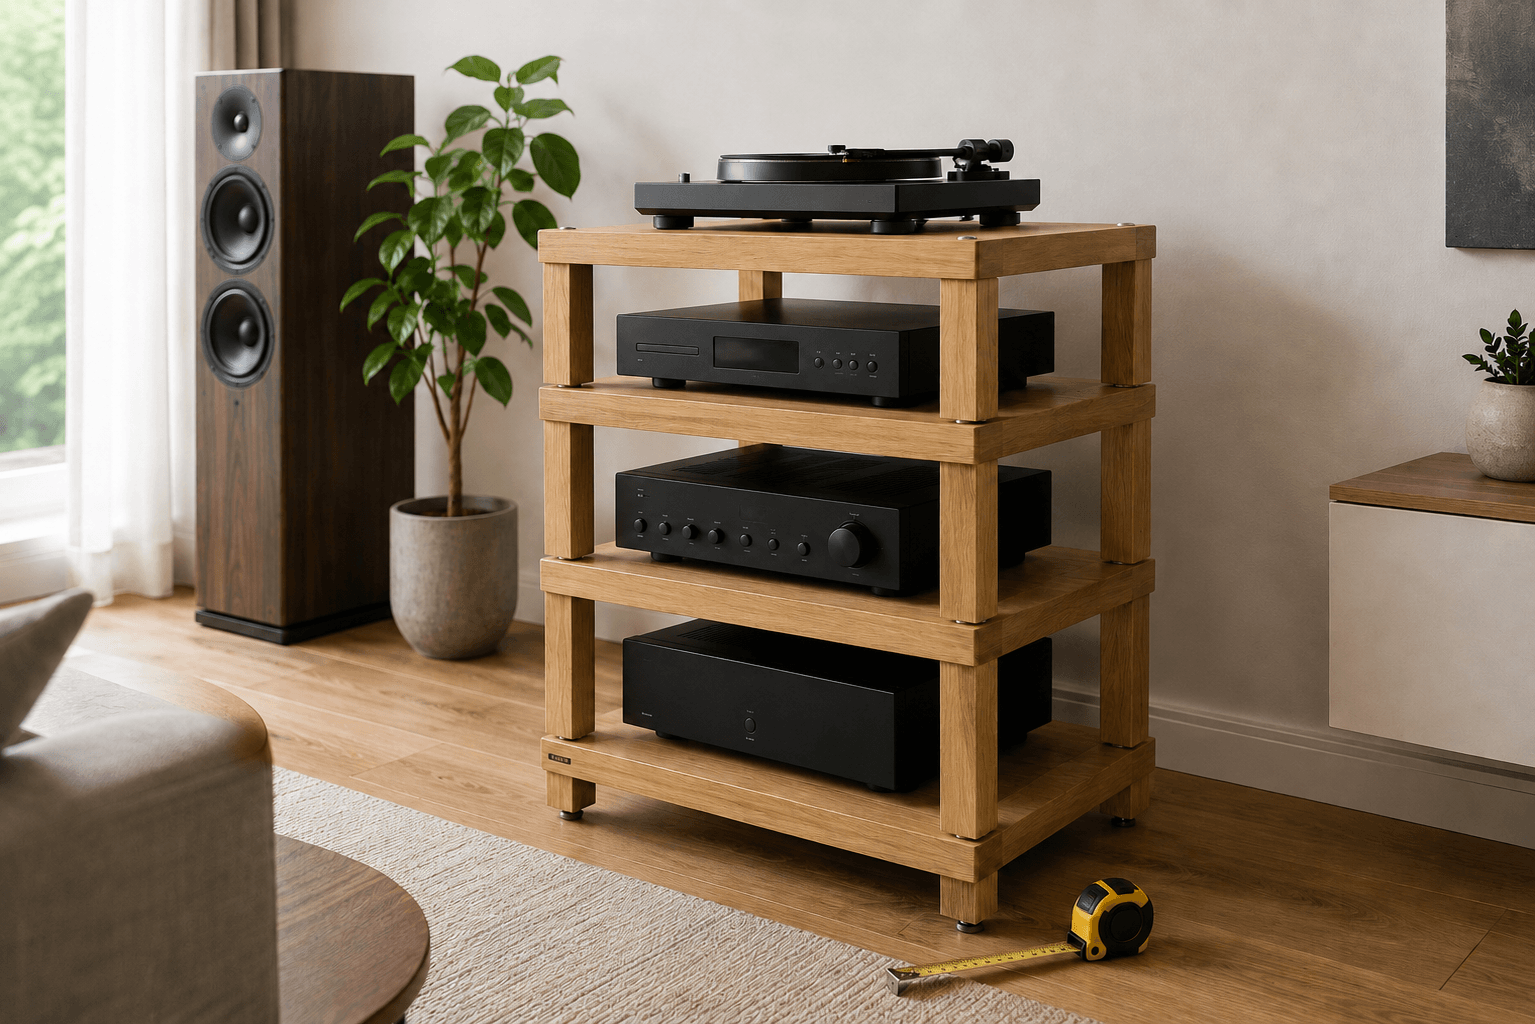
How big should a HiFi rack be? How to measure correctly
Determining the right size for a HiFi rack reveals just how closely furniture design and technical requirements are intertwined. A suitable Hi-Fi rack creates defined placement areas, keeps connections accessible, and allows for planning that ensures future changes do not necessitate a complete rebuild.
Those wishing to compare suitable models will find a variety of designs in the “HiFi Racks” category. However, it is best to first establish your own requirements so that technical specifications can be meaningfully evaluated.
Correctly measure the width of the HiFi rack
The usable surface area between the pillars or side panels must securely accommodate the feet of all your components. Create a brief list of your equipment, noting the width, height, depth, weight, and any special features. This information makes comparing different HiFi racks much easier to understand.
Practical check: Apply the requirements to the existing equipment and the intended location. Note down any missing dimensions or manufacturer specifications before committing to a HiFi rack.
Tiefe des HiFi Racks mit Kabelraum planen
Housing depth alone is not enough; plugs, cable bends, wall clearance, and baseboards must also be taken into account. A small service loop is preferable to tightly stretched cables. At the same time, excessively long cables should not be left in dense bundles directly behind heat-generating devices.
For a real-world test, you should mentally walk through the eventual setup process: installing the device, connecting the cables, operating it, and removing it again. If any of these steps require improvisation, it is worth considering a different arrangement.
Set the shelf spacing in the HiFi rack
The unit’s height, ventilation clearance, tubes, or an open turntable lid determine the required vertical clearance. Do not stack heat-generating units directly on top of one another merely for aesthetic reasons. Placing them on separate shelves generally improves airflow, maintenance, and access to the connections.
A brief checklist containing the truly relevant values helps when determining the spacing. This ensures the decision regarding a HiFi rack remains transparent and allows for updates after a change of equipment without requiring a complete redesign.
Check the total height of the HiFi rack
Ease of use, the center of gravity, and lines of sight within the room should align. For glass or special flooring, material thickness, support points, and manufacturer approval are critical. A panel that appears solid is no substitute for a documented load rating.
Check the setup not only with the furniture empty but also with the planned equipment in place. Weight, cables, and heat alter the practical conditions and can make a configuration that initially seemed suitable uncomfortable to use. A HiFi rack, such as the one from the premium manufacturer Atacama, should not exceed a maximum height of 1.00 m to 1.10 m.
Simulate the footprint for the HiFi rack
Mark the outer dimensions with masking tape and include doors, drawers, and clearance areas in your assessment. Alignment and stability should be re-checked after any major modification; changes in weight distribution can affect the behavior of the entire HiFi rack.
Allow only as much extra space as is reasonable for your specific setup. Additional space is useful if it serves a concrete purpose; however, unnecessary height or depth does not automatically make the hifi rack better.
Judiciously managing headroom in the HiFi rack
An additional tier is useful if a specific expansion is planned; however, unnecessary height can be a hindrance. Before purchasing, verify that additional tiers from the same series will be available later and are mechanically compatible; do not assume compatibility based solely on the visual appearance of threads, columns, or product generations.
Document the final solution, including dimensions and pin assignments. This facilitates future modifications and prevents the need to re-estimate details that have already been resolved whenever a device is replaced.
Conclusion: Measurable criteria create clarity
When determining the right size for a HiFi rack, the best solution is one that suits both the existing components and the room. By carefully checking dimensions, load capacity, airflow, and accessibility, you can objectively compare different rack options and minimize the need for improvisation later on.
Frequently asked questions about the right size for a HiFi rack
How much space should be left behind appliances?
This depends on the specific system and the intended HiFi rack. Check the dimensions, manufacturer specifications, and ease of use together to ensure the solution not only fits physically but also remains safe and accessible for everyday use.
Is a device allowed to protrude beyond the rack shelf?
No, a device should not protrude beyond the rack shelf, as it would otherwise pose an obstacle for you and your housemates.
Does the open turntable lid count towards the height?
The height of an open turntable lid should be taken into account when determining the spacing between shelves. However, it is recommended to place turntables on the top shelf of a HiFi rack.
When does a reserve level make sense?
This makes sense if future expansion is realistic and suitable modules remain available. Check the series, compatibility, and maximum practical height before planning for extra capacity merely as a precaution.
Further guides on HiFi rack size
- Buying a HiFi Rack: The Complete Guide to Size, Material, and Features – How to balance dimensions with load capacity, features, and material choice.
- AV receiver in a HiFi rack – a practical example of why plugs and cables increase the required depth.
- The most common mistakes when buying a HiFi rack – How to avoid typical measurement errors regarding external dimensions, internal dimensions, and cable space.


