
Blog
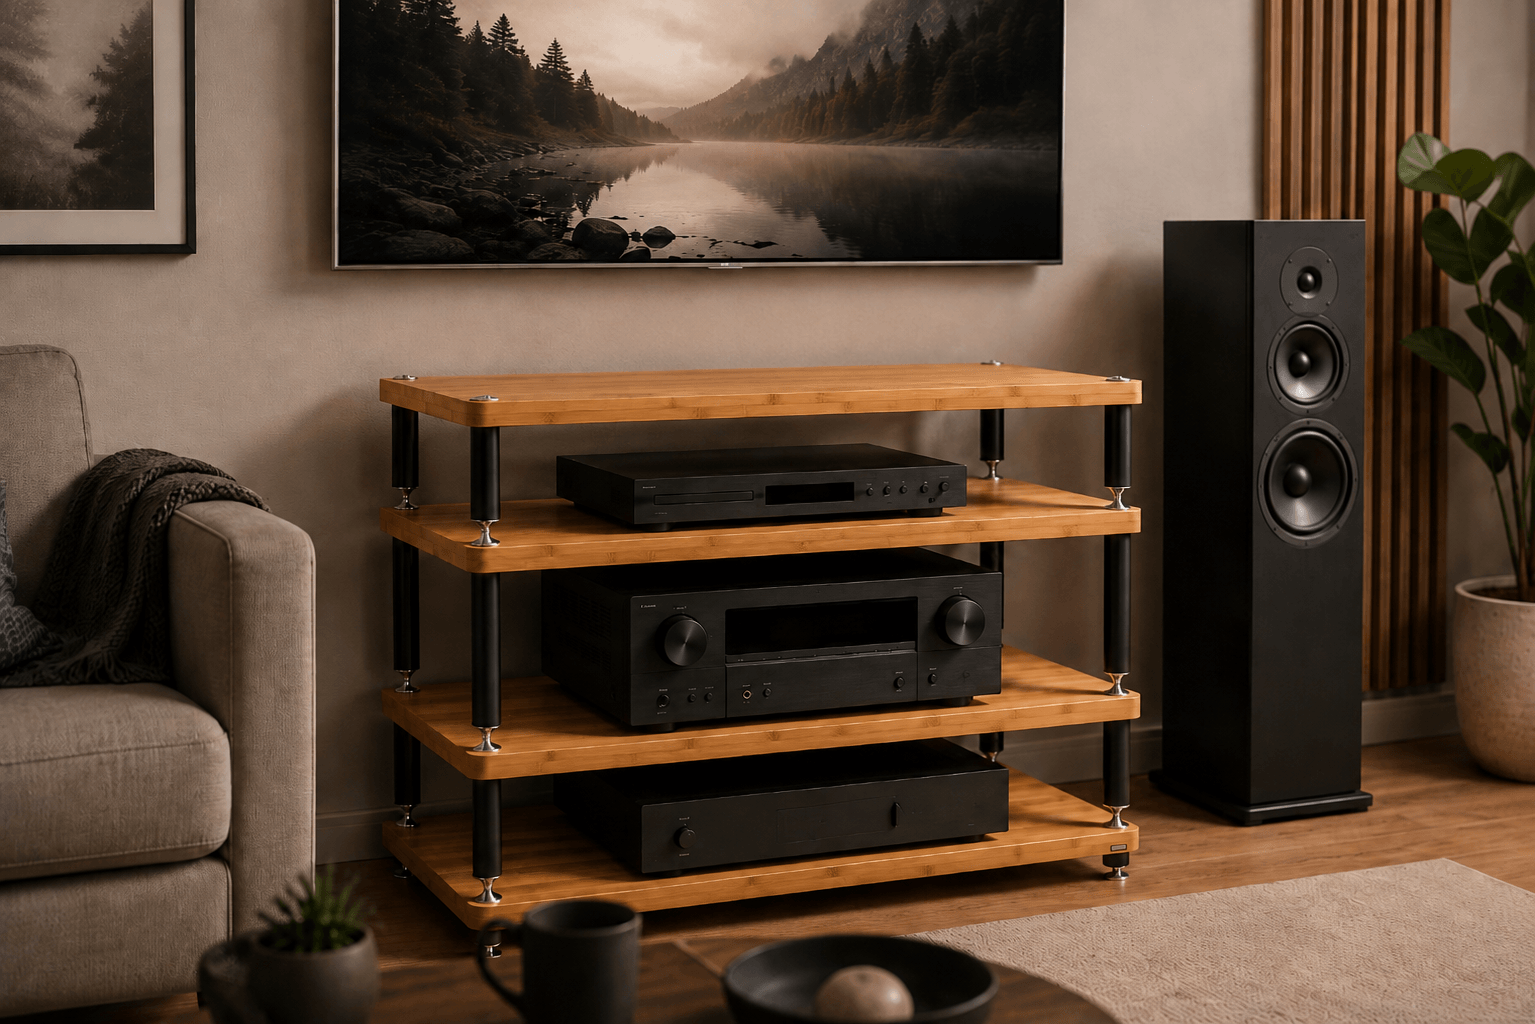
AV receiver in the HiFi rack
When selecting a HiFi rack for an AV receiver, you should base your choice on the equipment you already own. Usable depth, shelf spacing, load capacity, and airflow can all be objectively assessed, providing a better basis for your decision than generic product claims.
Those wishing to compare suitable models will find a variety of designs in the “HiFi Racks” category. However, it is best to first establish your own requirements so that technical specifications can be meaningfully evaluated.
Measure the full depth of the AV receiver
HDMI, network, and speaker connectors—along with the necessary cable loops—often make the device significantly deeper than the chassis itself. A small service loop is preferable to tightly stretched cables. At the same time, excessively long cables should not be left in dense bundles directly behind heat-generating equipment.
Practical check: Apply the requirements to the existing equipment and the intended location. Note down any missing dimensions or manufacturer specifications before committing to a HiFi rack.
Ventilation in the HiFi rack for AV receivers
Large appliances that generate heat require unobstructed tops and adequate air intake and exhaust. For households with children or pets, resistance to scratching, ease of cleaning, and sturdy edges are practical considerations; otherwise, a delicate surface may require an excessive amount of maintenance.
For a real-world test, you should mentally walk through the eventual setup process: installing the device, connecting the cables, operating it, and removing it again. If any of these steps require improvisation, it is worth considering a different arrangement.
Organize the cable layout behind the HiFi rack
Route speaker and HDMI cables so that no socket is subjected to lateral strain. Plan the rear layout so that a plug can be disconnected without moving the entire HiFi rack; ease of access for maintenance is a key factor in practical cabling.
A brief checklist covering the truly relevant specifications helps here. This ensures the choice of HiFi rack remains logical and allows for updates after changing equipment without requiring a complete redesign.
Position the HiFi rack near the TV
Short signal paths are practical, but they should not dictate speaker placement or compromise air circulation. Heat generation should be re-evaluated whenever equipment is changed; a more powerful amplifier or receiver can significantly alter the requirements for the existing rack space. Atacama offers wide HiFi racks that allow equipment to be placed beneath a television.
Check the setup not only with the furniture empty but also with the planned equipment in place. Weight, cables, and heat alter the practical conditions and can make a configuration that initially seemed suitable uncomfortable to use.
Consider remote control and network
For doors or side-mounted installations, check the line of sight for the infrared signal as well as the Wi-Fi and wireless connectivity. Transfer the measurements to the actual installation site, taking into account open covers, controls, and future access requirements. This reveals whether a solution that works on paper is also practical in reality.
Allow only as much extra space as is reasonable for your specific setup. Additional space is useful if it serves a concrete purpose; however, unnecessary height or depth does not automatically make the hifi rack better.
Access the AV receiver for maintenance
The device should remain accessible without having to dismantle the entire HiFi rack or remove adjacent components. Create a brief list of the equipment, noting width, height, depth, weight, and any special features. This information makes comparing different rack options much easier to understand.
Document the final solution, including dimensions and pin assignments. This facilitates future modifications and prevents the need to re-estimate details that have already been resolved whenever a device is replaced.
Conclusion: A good rack solution avoids improvisation
The decision becomes significantly easier when each device is assigned to a specific level. This makes it clear where reserves are needed and where additional height offers no practical benefit, allowing the design team to subsequently choose from the technically viable options.
Frequently Asked Questions About AV Receivers in HiFi Racks
Why are HDMI connectors important when considering rack depth?
Plan for the depth, accounting for connected plugs and a realistic cable bend radius. Cables should be routed without tension, crushing, or sharp kinks, and must remain accessible for maintenance.
Can an AV receiver be placed in a lowboard?
Yes and no; a lowboard can work well technically, provided the depth, load capacity, and ventilation are suitable. It usually requires more wall width, whereas a vertical HiFi rack consolidates multiple devices within a smaller floor footprint.
Does an AV receiver need additional fans?
Additional fans are not automatically necessary if passive ventilation is sufficient. Key factors include the clearances specified by the manufacturer, unobstructed ventilation openings, and the temperature during typical, prolonged use.
Can a game console be placed on top of the receiver?
Only if weight, load-bearing capacity, and—above all—ventilation are not compromised as a result. In many cases, a separate level is the safer and more maintenance-friendly solution.
How do I keep the back easy to maintain?
This depends on the specific system and the intended HiFi rack. Check the dimensions, manufacturer specifications, and ease of use together to ensure the solution not only fits physically but also remains safe and accessible for everyday use.
More guides on AV receivers in HiFi racks
- Ventilate the amplifier properly – this way you can avoid heat build-up and plan sufficient air passages.
- Cable management in the HiFi rack – How to organize HDMI, network, speaker, and power cables for easy maintenance.
- HiFi rack or lowboard? Which style suits your system? – Compare TV integration, footprint, and ventilation for both designs.


