
Blog
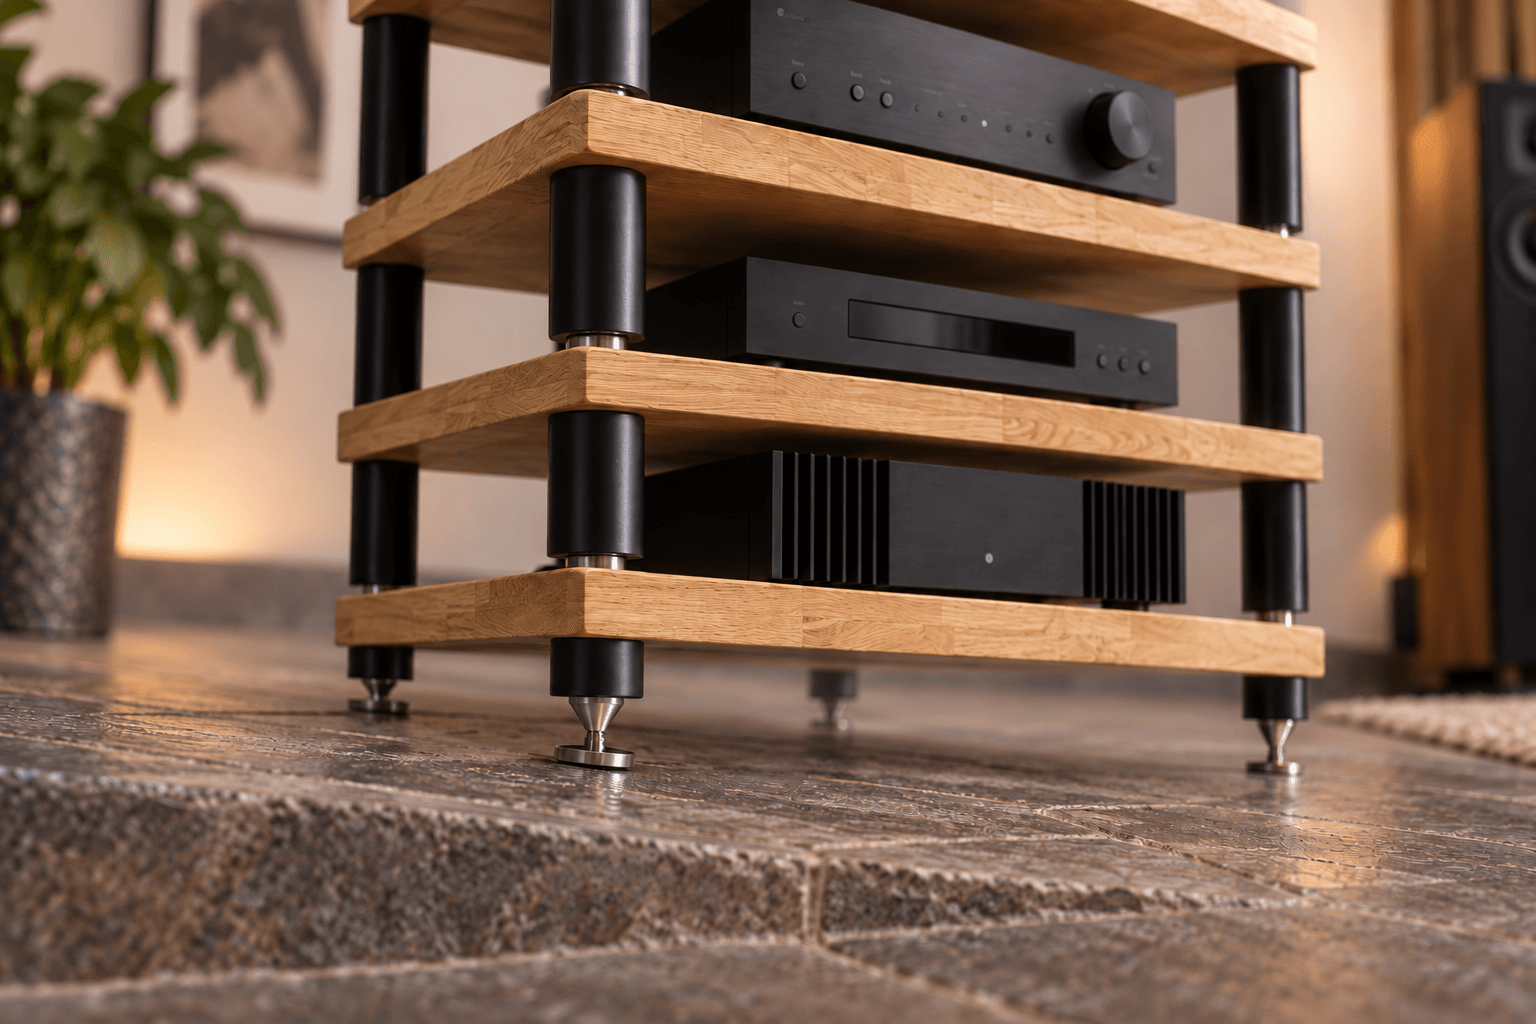
Leveling a HiFi rack on an uneven floor
A hifi rack must suit the actual equipment, the flooring, and how the room is used; therefore, making a good choice begins with a brief assessment of the situation, not with the color of the furniture.
Those wishing to compare suitable models will find a variety of designs in the “HiFi Racks” category. However, it is best to first establish your own requirements so that technical specifications can be meaningfully evaluated.
Position the HiFi rack empty at first
Place the hifi rack in its final location without any equipment installed so that the feet and the floor surface remain easily accessible. Check the positioning first with the rack empty and later when it is fully loaded. Carpets or other yielding surfaces may settle, making readjustment necessary.
Adjust the leveling feet on the HiFi rack step by step
Adjust each contact point only until all feet bear the weight evenly and the HiFi rack no longer wobbles. A spirit level placed both lengthwise and crosswise reveals any slight unevenness. Adjust the feet incrementally until all contact points are supporting the unit and the furniture is stable.
For a real-world test, you should mentally walk through the eventual setup process: installing the device, connecting the cables, operating it, and removing it again. If any of these steps require improvisation, it is worth considering a different arrangement.
Atacama offers the option of compensating for uneven floors using adjustable spikes. Please also remember to use Atacama HD-L floor protectors to prevent damage to the floor.
Use a spirit level on multiple planes
Use a spirit level both lengthwise and crosswise, and check again after loading to see if the base has settled. Keep future maintenance in mind: it should be possible to remove a unit without having to dismantle several adjacent components or the entire wiring system.
Keeping a HiFi rack stable on carpet
Yielding surfaces can settle. Use only firm supports that are suitable for the system. Once fully loaded, check the stability, airflow paths, and cable routing again. Only then will it become apparent whether the plan works under real-world conditions.
Check the setup not only with the furniture empty but also with the planned equipment in place. Weight, cables, and heat alter the practical conditions and can make a configuration that initially seemed suitable uncomfortable to use.
Protect delicate floors under the HiFi rack
Spikes require suitable washers, whereas slippery or soft temporary supports can compromise stability. Material choice and load-bearing capacity should be evaluated separately. Whether a floor can safely support heavy equipment depends on its construction and the manufacturer’s specifications, not merely on whether it is made of wood, metal, or MDF.
Identifying structural soil problems
If the floorboards are very resilient, a different location or a professional inspection may make more sense than more documents. After every major conversion, alignment and stability should be checked again. Changing the weight distribution can affect the behavior of the entire HiFi rack.
Document the final solution, including dimensions and pin assignments. This facilitates future modifications and prevents the need to re-estimate details that have already been resolved whenever a device is replaced.
Conclusion: Aligning a HiFi rack stably on an uneven floor
When placing a HiFi rack on an uneven floor, it should first be leveled at its final location while empty. Adjustable feet or spikes should be fine-tuned step-by-step to ensure all contact points bear the weight securely and the shelves are level both lengthwise and crosswise. On carpet or other yielding surfaces, it is advisable to re-check the leveling a few days after the rack has been fully loaded; on parquet, tile, and other delicate flooring, suitable protective discs safeguard the surface without compromising stability. If the built-in leveling mechanisms prove insufficient due to highly springy floorboards or significant structural unevenness, choosing a different location or consulting a professional is preferable to using improvised shims. The leveling should also be re-checked after any major changes to the equipment.
Frequently asked questions about leveling a HiFi rack on an uneven floor
Can felt permanently compensate for a difference in height?
Felt protects surfaces but is often too yielding to serve as a permanent height-adjustment solution for a heavy HiFi rack. Whenever possible, use the designated leveling feet or a solid, sturdy base that cannot slide sideways.
When should I readjust a HiFi rack?
Check the alignment after fully loading the unit, and again once any carpeting or other soft flooring has settled. It is also worth checking after any significant change in equipment, as the weight distribution will have altered.
Are spikes safe on tiles?
Spikes can damage delicate floors if suitable protective discs are not used. Use only accessories compatible with the HiFi rack and the floor surface, and subsequently verify that the unit is level and stable.
Does a HiFi rack need to be perfectly level?
A stable and horizontal footprint is particularly important. If the floor is very resilient, a different location or a suitable wall mount may make more sense than adding more accessories to the HiFi rack.
What to do about floorboards that bounce excessively?
If floorboards are very springy, trying a different location—ideally closer to a load-bearing wall—is often the first logical step. For particularly sensitive turntables, a suitable wall mount can also be an alternative, depending on the wall construction.
Helpful guides for HiFi racks on uneven floors
- Setting up your Hi-Fi rack correctly – How to plan the location, distance from the wall, and horizontal alignment.
- Spikes or dampers under the HiFi rack? – Compare contact points, floor protection, and different floor surfaces.
- Setting up a Hi-Fi rack safely – How to check assembly and stability before and after loading.


